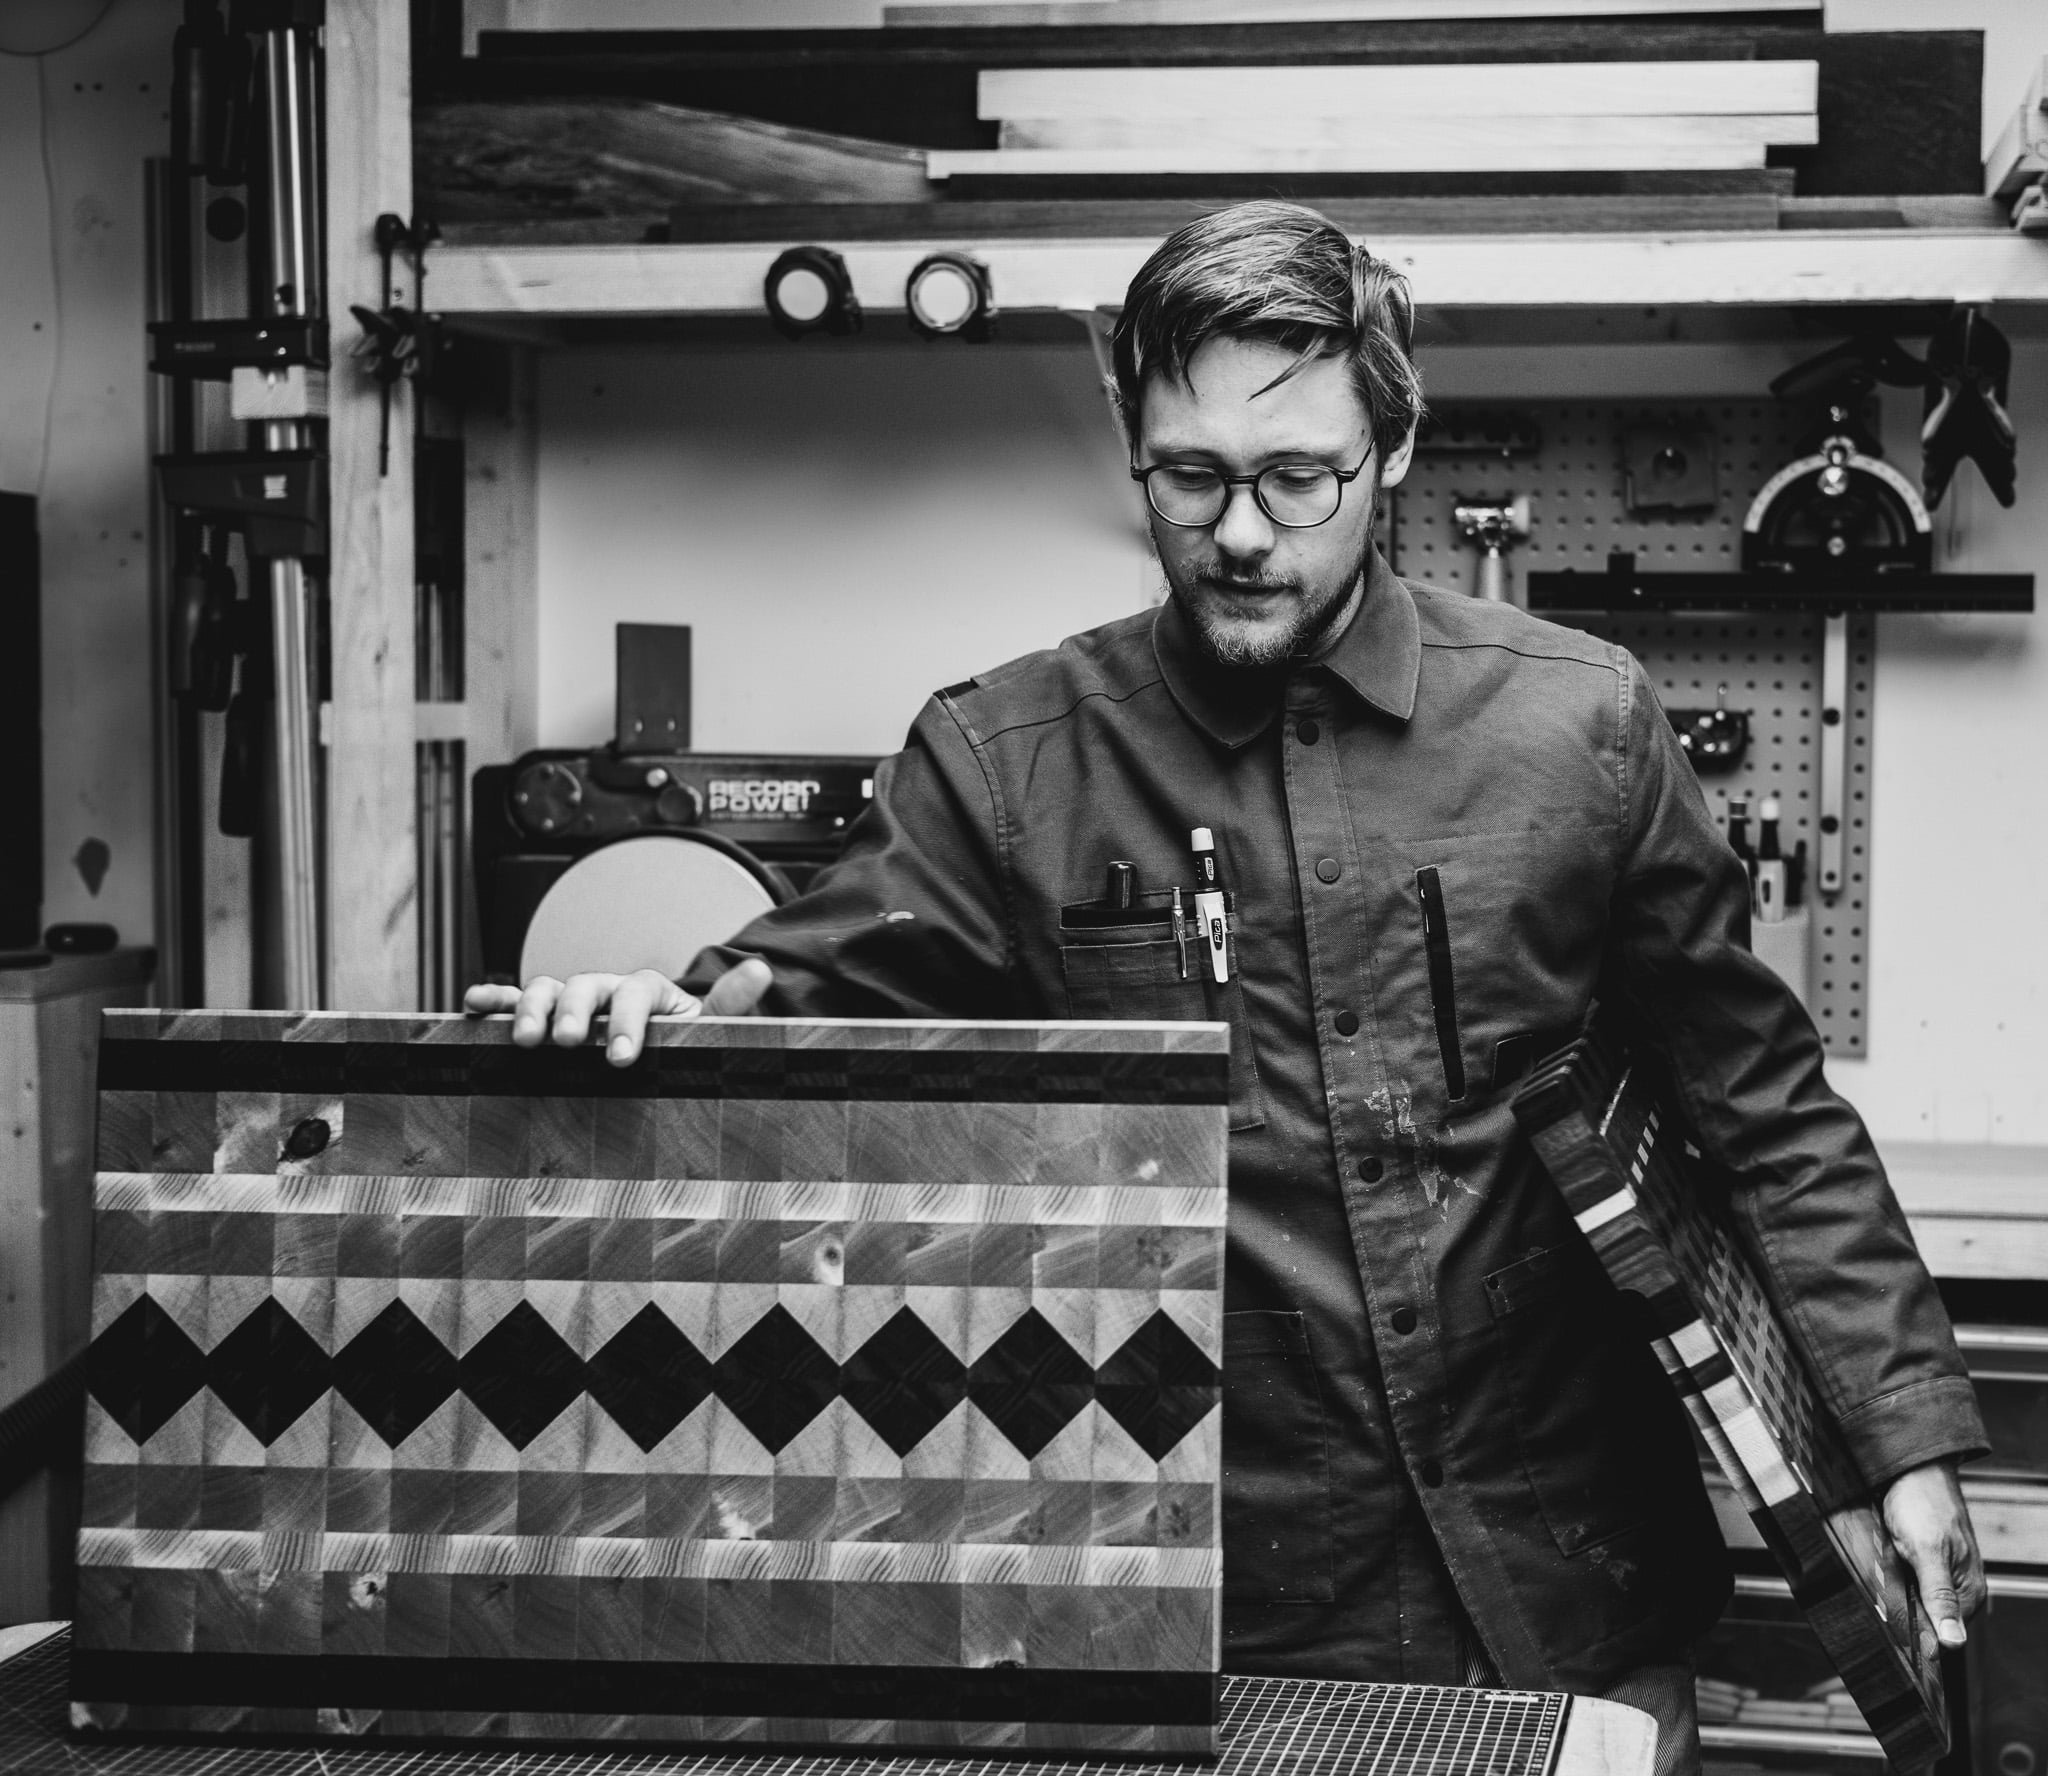
Een houten snijplank van plllank is niet zomaar een snijplank. Als erkend ambachter – beslissing door FOD economie, commissie ambachtslieden, 17 juli 2023 – wordt er van begin tot einde zorgvuldig, met kennis en met oog voor detail aan de plank gewerkt. Finaal levert plllank een rechte, vlakke, correct verlijmde, voedselveilige, unieke, stijlvolle, functionele, lokale en duurzame hardhouten snijplank. Lees hieronder hoe dit proces verloopt.
STAP 1
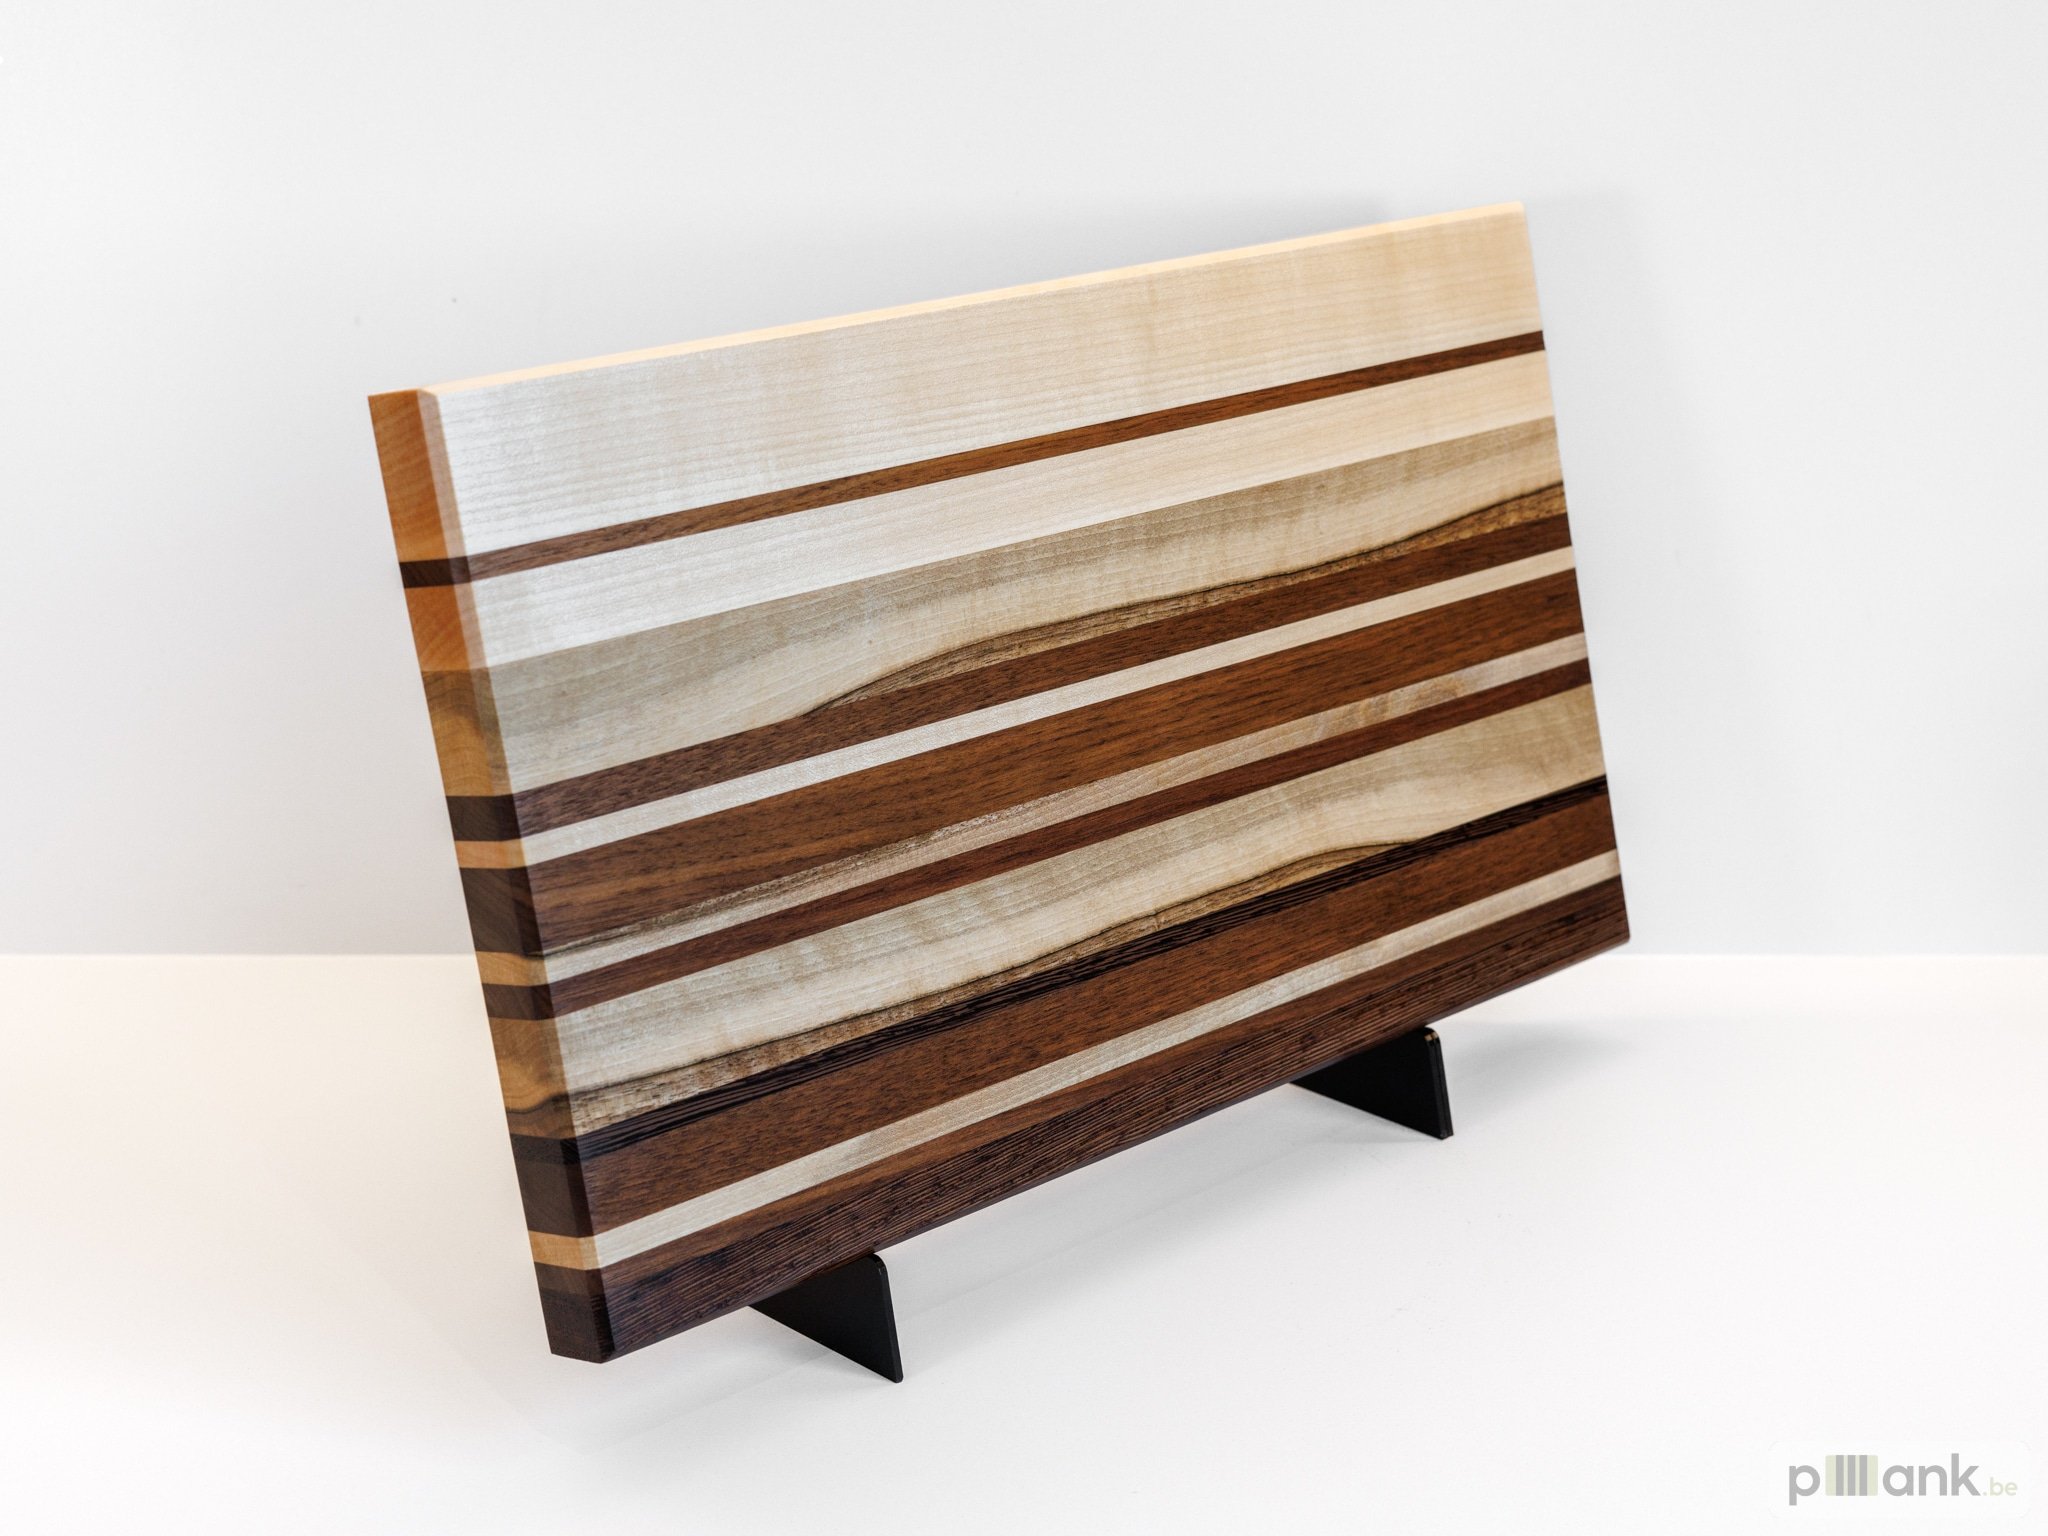
Ruwe Planken uit Lokale Zagerijen
Alles staat of valt met een goeie basis. Het ruwe hout wordt aangekocht in lokale zagerijen. Met mijn achtergrond als bio-ingenieur bos- en natuurbeheer beschik ik over een zeer uitgebreide houtkennis. Enkel de meest kwalitatieve en geschikte soorten voor snijplanken worden gebruikt. Deze worden zorgvuldig geselecteerd op zowel structuur, kwaliteit als esthetiek.
STAP 2
Schaven en Vlakken
De ruwe planken uit de zagerij worden in eigen atelier geschaafd en gevlakt tot perfect vlakke en haakse oppervlakken op de schaafbank. Daarna worden ze op dikte gebracht en vlakken parallel aan elkaar gemaakt met de vandiktebank.
STAP 3
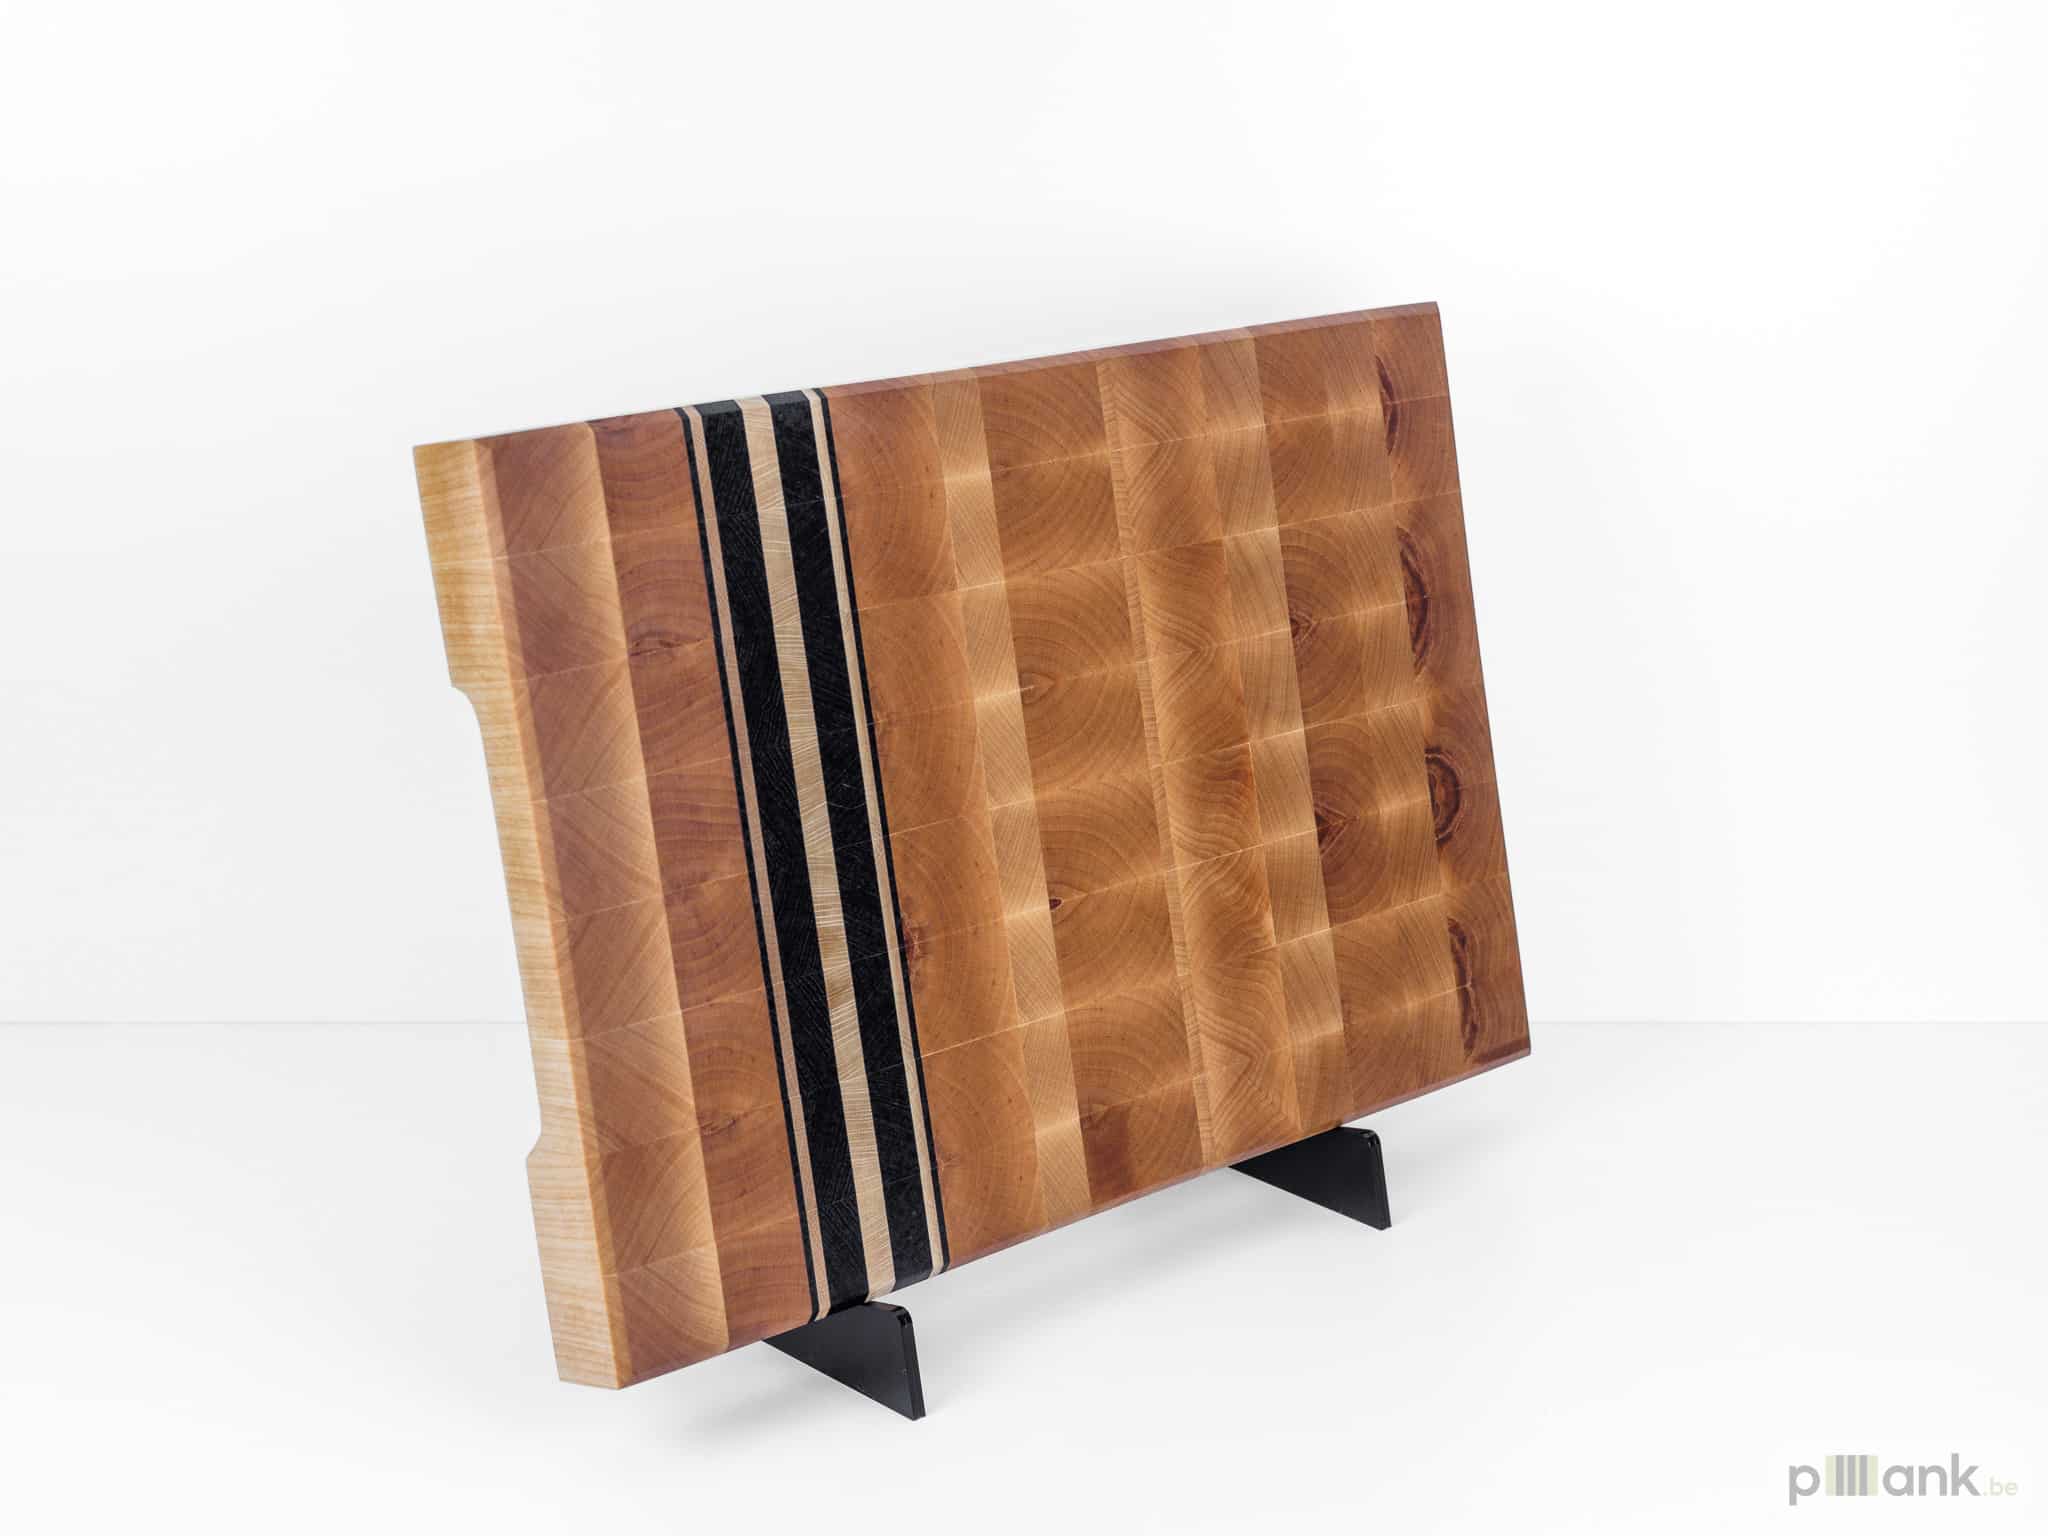
Verzagen
De geschaafde planken worden tot de gewenste afmetingen verzaagd met de tafelzaag. Hier wordt de grootte van de snijplank bepaald en planken verzaagd tot dunnere latjes om het patroon te bepalen. Ook voor kopshouten snijplanken speelt de verzaging nu reeds een grote rol.
STAP 4
Perfect Rechten
Alle oppervlaktes van de verzaagde planken en latjes die verlijmd zullen worden, worden eerst nog perfect recht en glad gemaakt met de vandikte schuurmachine of cilinder schuurmachine en gereinigd met perslucht. Dit zorgt voor een veel beter te verlijmen oppervlak en sterkere binding.
STAP 5
Verlijmen
Verlijming gebeurt met voedselveilige houtlijm die zorgt voor waterdichte verbindingen tussen het hout. Houtlijm verkrijgt zijn sterkte door druk. Verlijming met correcte verklemming is dan ook van groot belang. Parallel klemmen worden gebruikt over de volledige plank om een uniforme druk te verkrijgen. De plaats van verlijming zal finaal vele malen sterker zijn dan het hout zelf.
STAP 6
Snijplank Afvlakken
De snijplank wordt uit de klemmen gehaald en voor de eerste maal glad gemaakt. Alle overtollige lijm wordt verwijderd met een specifieke lijmschraper waarna de snijplank door de vandiktebank gaat. Dit levert twee perfecte rechte vlakken en een parallel boven en ondervlak op. Grote snijplanken zoals butcher blocks worden ofwel met een freesmal, ofwel met de in-house CNC machine, vlak gemaakt.
STAP 7
Verzagen
De snijplank wordt verzaagd tot de finale maat indien het een langshouten snijplank betreft. Indien kopshouten snijplank, volgt hier opnieuw een verzaging en verlijming (terug naar stap 3). Dit maakt interessante patronen mogelijk, maar zorgt omwille van de meerdere handelingen voor een hogere prijs.
Iedere ruwe plank die wordt verzaagd voor de constructie van een snijplank wordt reeds met streng oog gecontroleerd op defecten. Denk hierbij aan knopen door ingegroeide takken of scheuren door het droogproces. Indien tijdens de constructie van de snijplank alsnog een dergelijk defect wordt waargenomen, wordt de snijplank afgekeurd, opnieuw verzaagd als het zich op het bovenoppervlak bevindt, of wordt het correct verzegeld als het zich op het onderoppervlak bevindt.
STAP 8
Schuren, schuren, schuren...
Eerst gaat de snijplank in zijn geheel door de vandikteschuurmachine waarbij die bovenaan en onderaan perfect vlak wordt geschuurd met korrel 80. Verder wordt die handmatig opgeschuurd met een excenterschuurmachine in korrels 80, 120 en 180. Na deze laatste korrel wordt de snijplank volledig nat gemaakt. Dit zorgt dat de vezels zich oprechten / opzetten waarna ze worden terug geschuurd met korrel 180. Deze stap zorgt ervoor dat de plank perfect glad blijft wanneer die nadien wordt nat gemaakt en komt de hygiëne enkel maar ten goede.
STAP 9
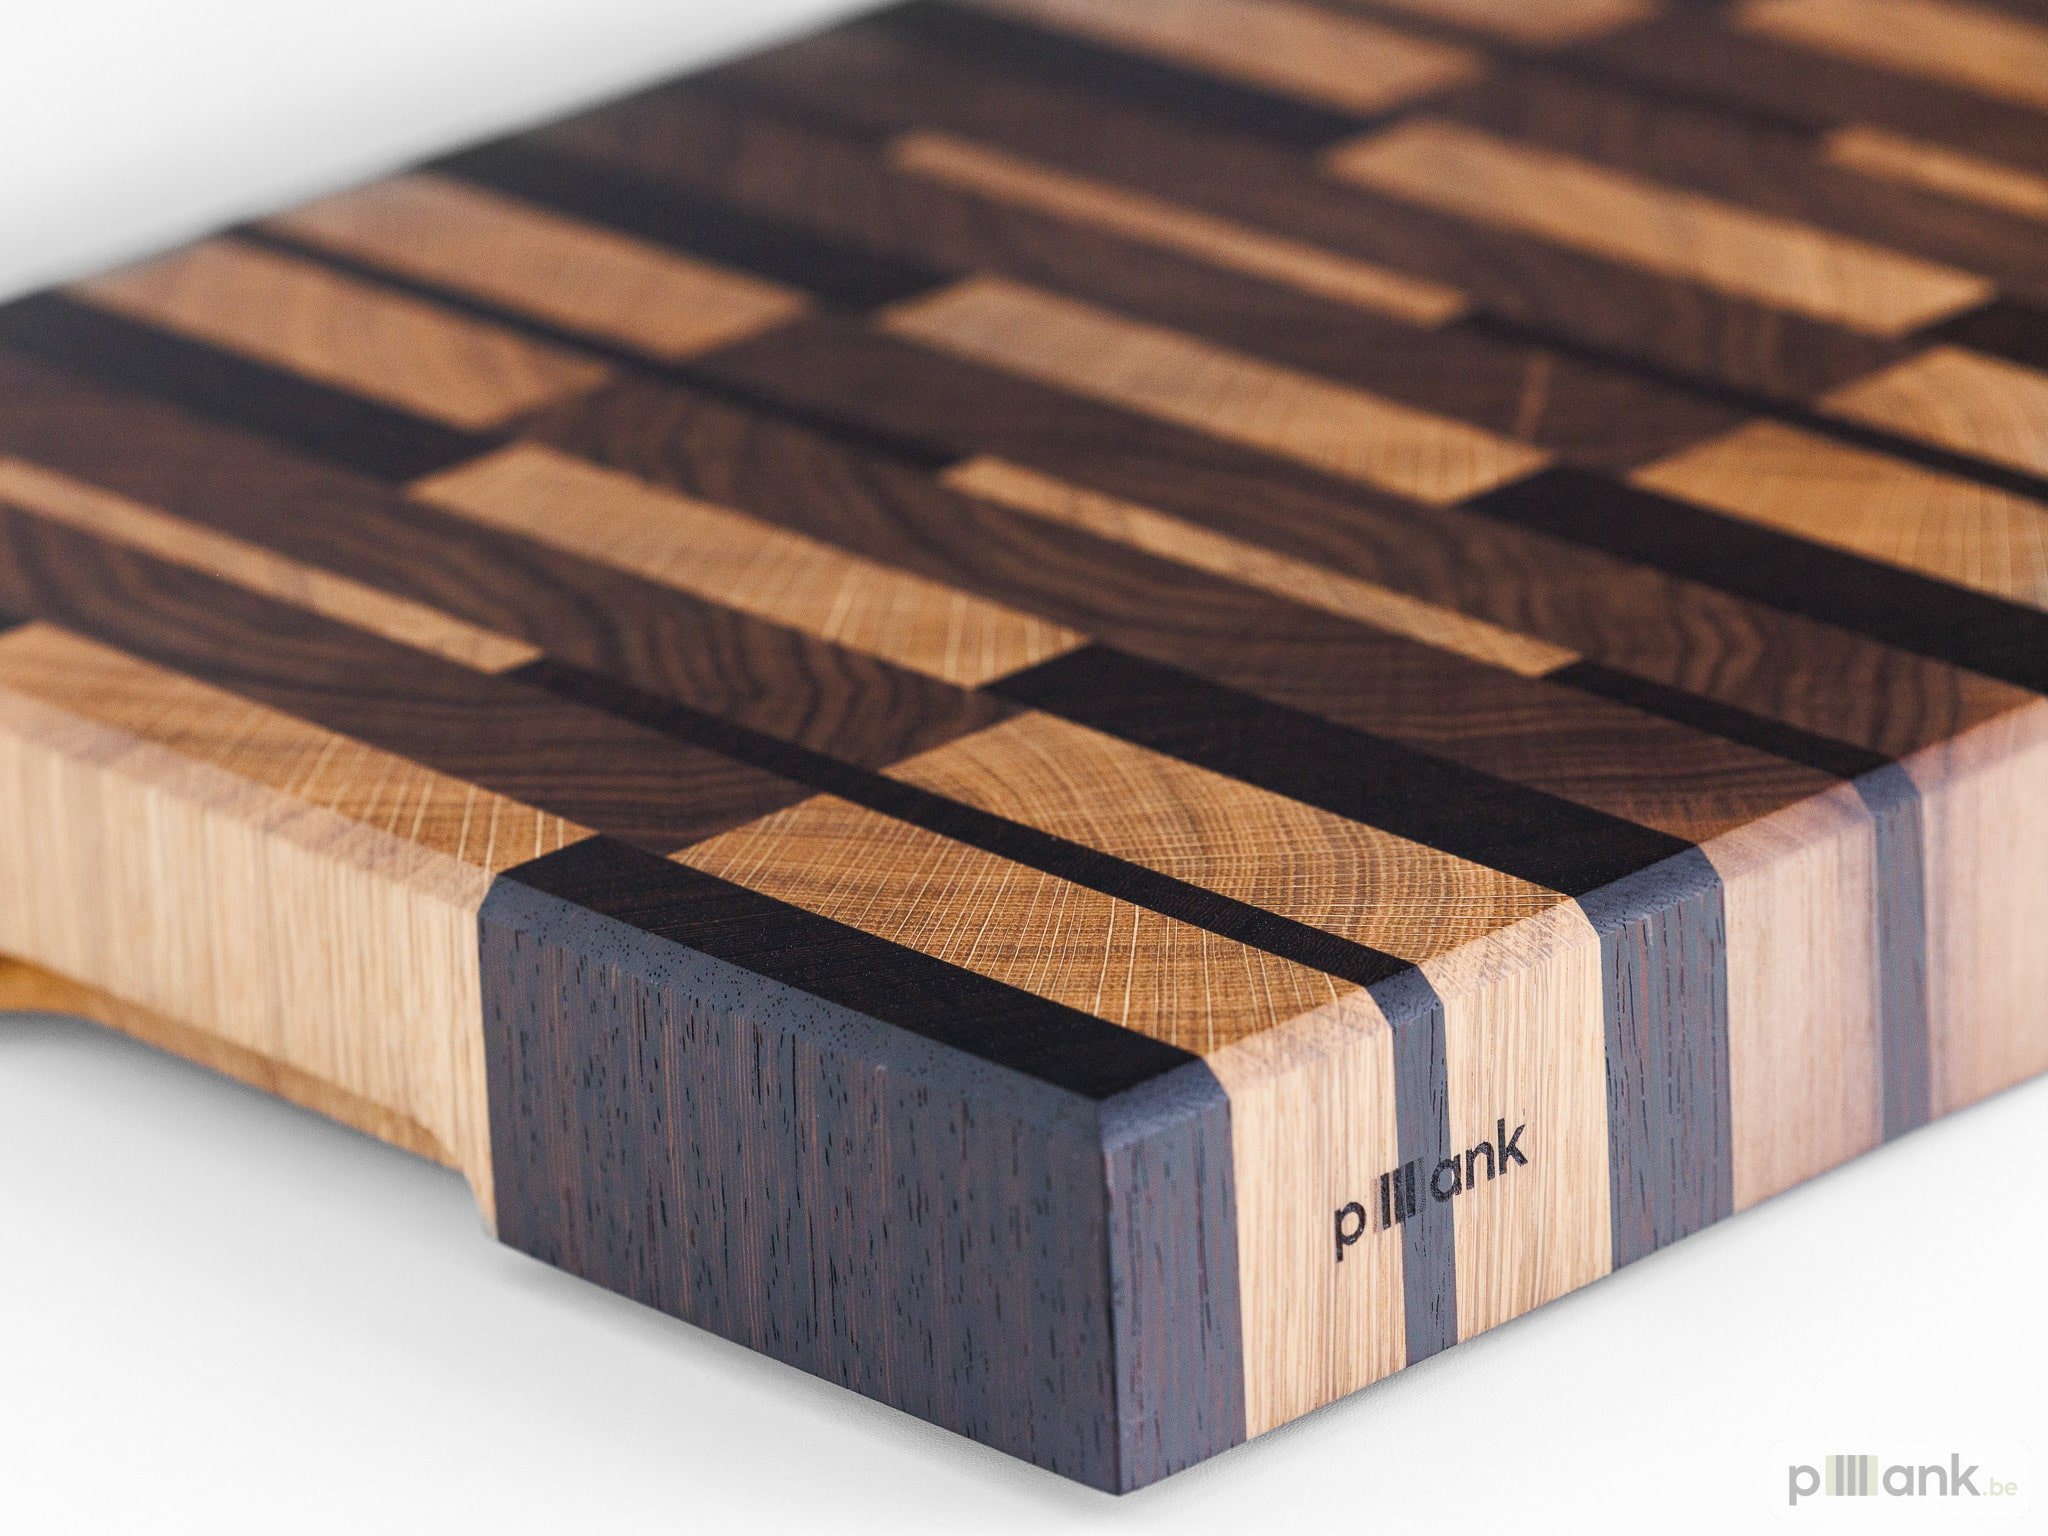
Mirror Finish
In een tweede schuurfase wordt er verder geschuurd met korrel 240, 320 en 500. Kopshout wordt gepolierd met korrel 1000 om tot een mirror finish te komen. Dit supergladde oppervlak is niet enkel mooi, maar zorgt ook voor een veel moeilijkere penetreerbaarheid van vocht die opnieuw zorgt voor een verbeterde hygiëne en voedselveilige houten snijplank.
STAP 10
Olie en Wax
Finaal volgt de afwerkingsfase. Het plllank logo wordt op de snijplank gelaserd en iedere plank wordt ondergedompeld in een bad van minerale olie. In tegenstelling tot het inwrijven met olie zorgt dit voor een betere impregnatie van de olie in de snijplank. Hierbij worden alle vaten van het hout gevuld en biedt de olie weerstand tegen vocht en bijgevolg bacteriën.
Daarna wordt iedere snijplank behandeld met een finale topwax. Dit met een wax volgens huisrecept op basis van minerale olie en gesteriliseerde bijenwas die zorgvuldig wordt ingewreven in twee fases. Intern beschermd door minerale olie en extern beschermd door het perfect glad geschuurde oppervlak en natuurlijke topwaxlaag.
Iedere houten snijplank van plllank wordt geleverd met een potje huisgemaakte wax en microvezelhandschoen om dit in te wrijven.